This guide shows a practical, minimal setup to accept one-time card payments with Stripe Checkout using a React client and a Node.js/Express server. It covers required packages, example client and server code, testing tips, common pitfalls, and next steps (webhooks, subscriptions).
Why use Stripe Checkout?
Stripe Checkout is a hosted payment page that simplifies PCI compliance, supports multiple payment methods, and provides a consistent UX across devices. It is ideal when you want a fast, secure way to collect payments without building a custom payment form.
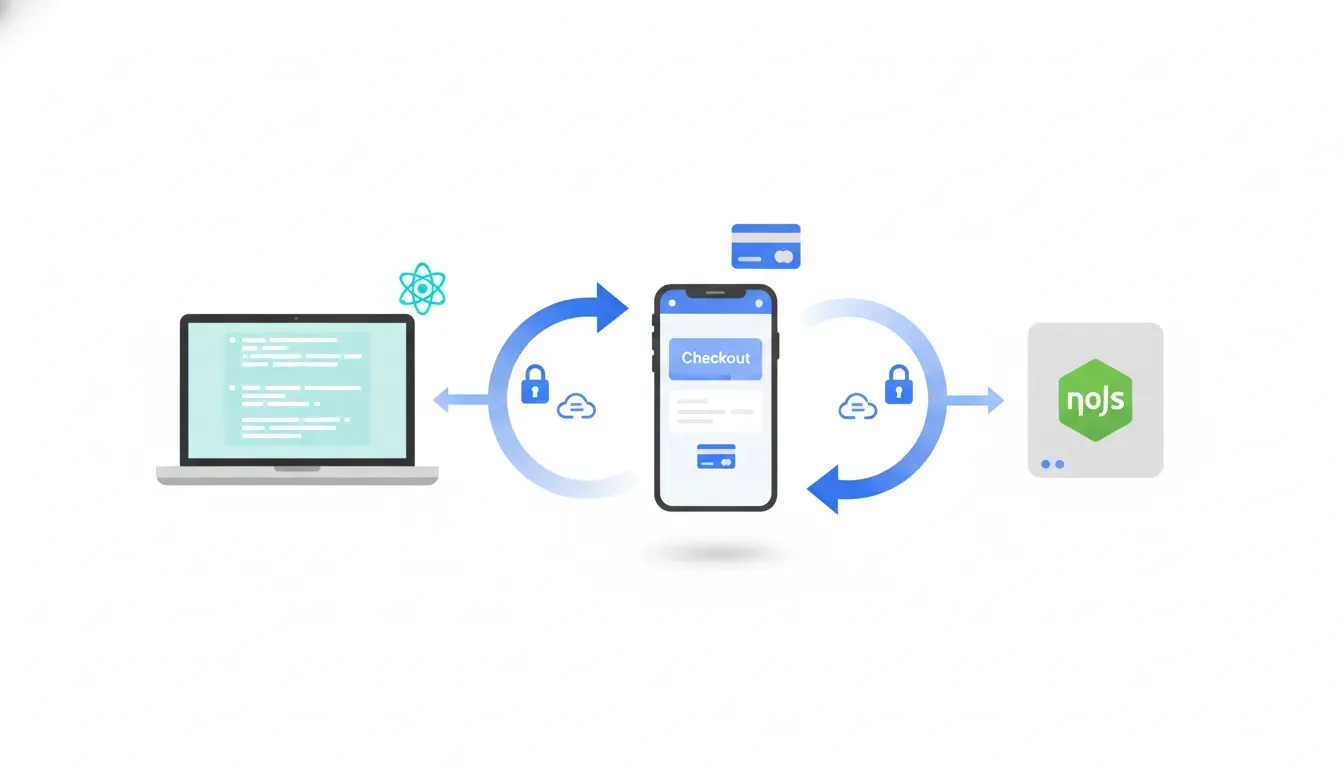
High-level flow
- Client collects cart items and requests a Checkout Session from your backend.
- Server creates a Checkout Session with line items and returns the session ID.
- Client redirects the user to Stripe Checkout using the session ID.
- Stripe handles payment. On success or cancel Stripe redirects back to your success/cancel URLs.
Prerequisites
- Node.js and npm installed.
- React project (create-react-app or similar).
- Stripe account (for test keys use the Dashboard).
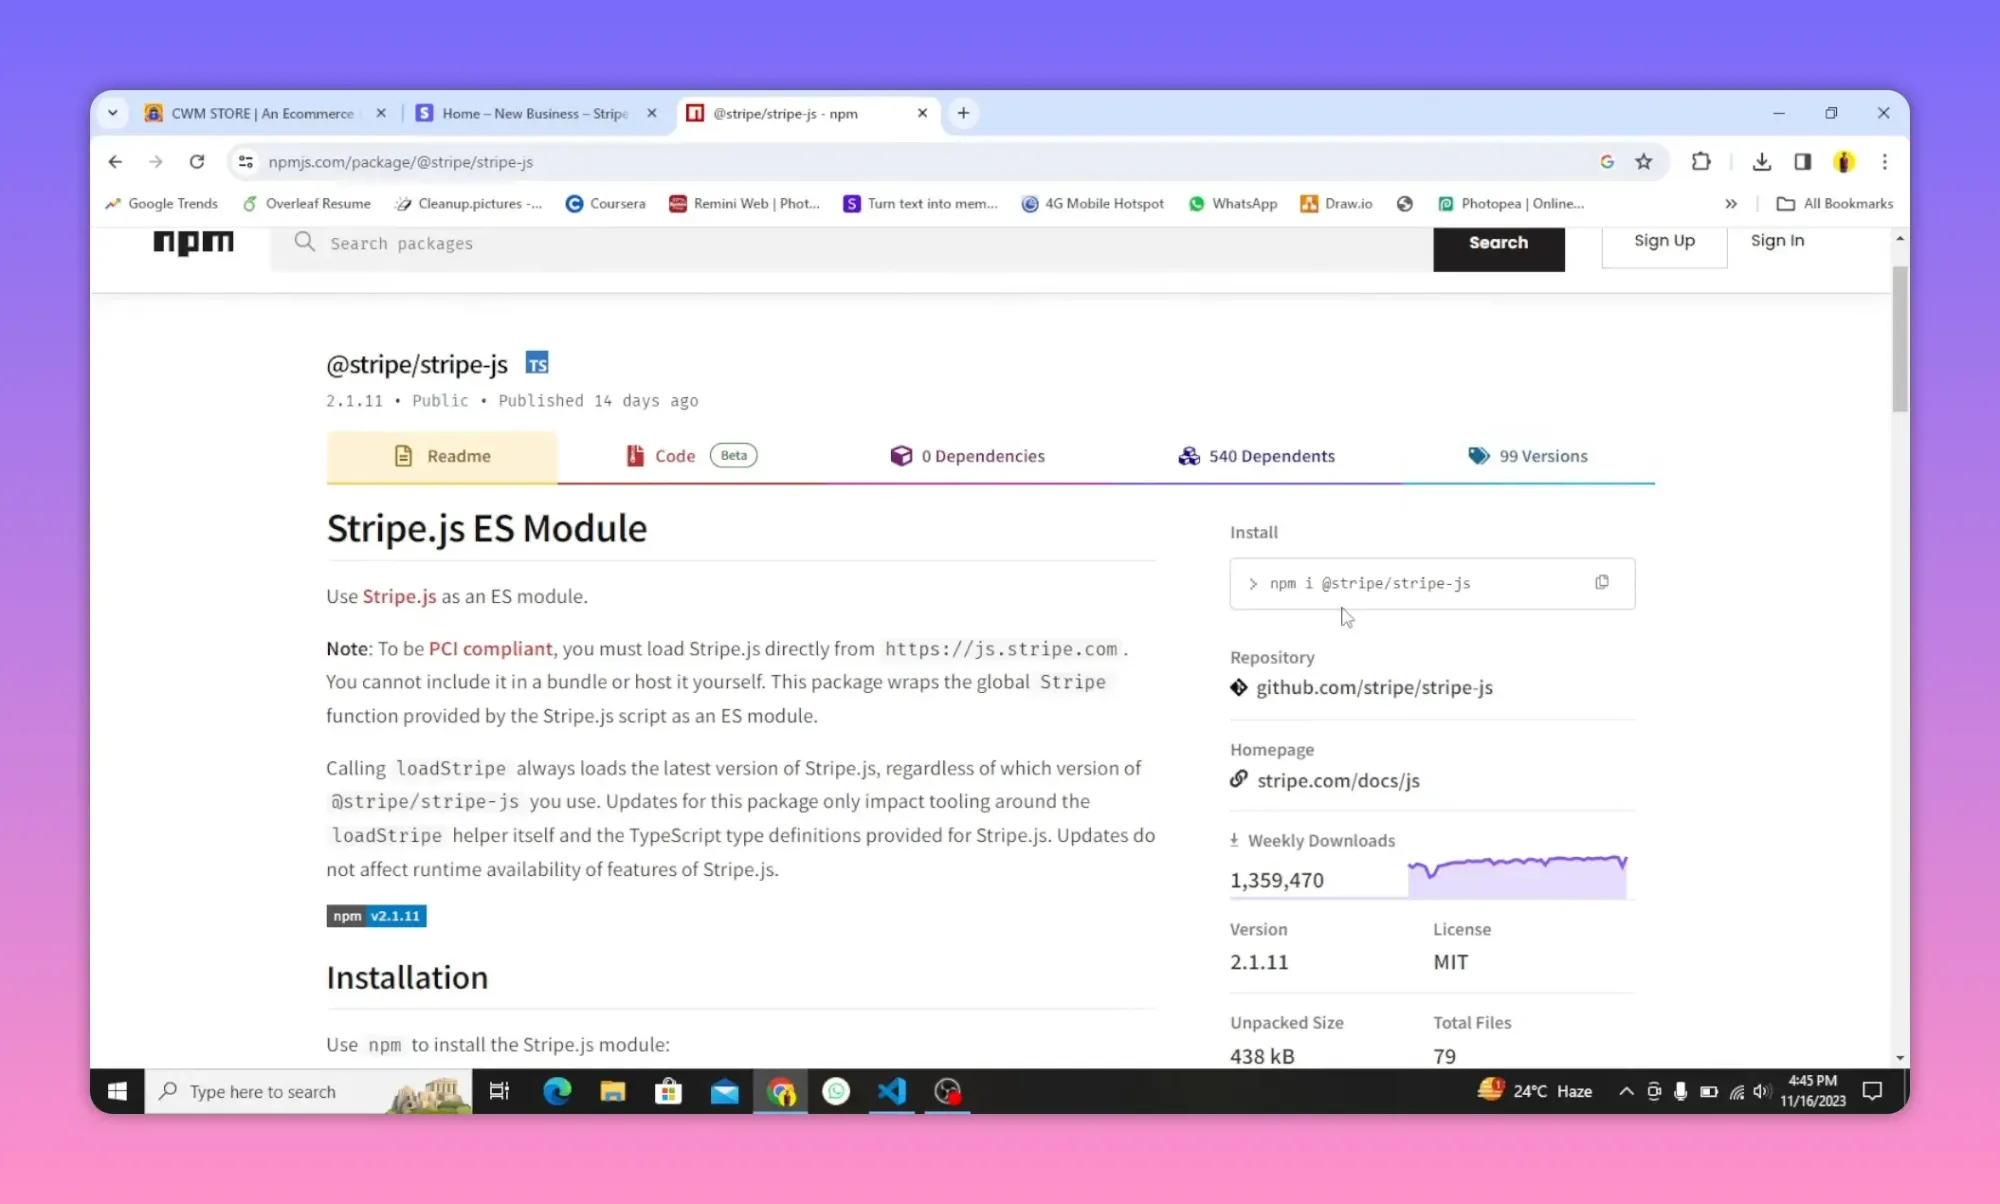
Install required packages
Frontend: use the official Stripe helper to load the Checkout library. Backend: use the Stripe Node package.
# Frontend
npm install @stripe/stripe-js

# Backend
npm install stripe express body-parser cors
React client: create request to your server and redirect
The client sends the cart items to a backend endpoint (for example /create-checkout-session). The server returns the Stripe session id. Then use loadStripe and redirectToCheckout.
// example React function (simplified)
import { loadStripe } from '@stripe/stripe-js';

async function makePayment(cart) {
  // Use your publishable key (store it in REACT_APP_STRIPE_PUBLISHABLE_KEY)
  const stripe = await loadStripe(process.env.REACT_APP_STRIPE_PUBLISHABLE_KEY);

  const res = await fetch('/create-checkout-session', {
    method: 'POST',
    headers: { 'Content-Type': 'application/json' },
    body: JSON.stringify({ products: cart })
  });

  const data = await res.json();
  // Redirect to Stripe Checkout
  const result = await stripe.redirectToCheckout({ sessionId: data.id });
  if (result.error) {
    // Handle errors (display to user)
    console.error(result.error.message);
  }
}
Key notes:
- Use the publishable key on the client (REACT_APP_ prefix for create-react-app).
- Send cart data as JSON in the POST body (name, price, image, quantity, etc.).
- Do not embed your secret key into client code.
Node.js / Express: create the Checkout Session
The backend receives products, constructs line_items, and calls Stripe to create a Checkout Session. Always use your Stripe secret key on the server.
// server/index.js (simplified)
const express = require('express');
const bodyParser = require('body-parser');
const cors = require('cors');
const Stripe = require('stripe');

const app = express();
app.use(cors());
app.use(bodyParser.json());

const stripe = Stripe(process.env.STRIPE_SECRET_KEY);

app.post('/create-checkout-session', async (req, res) => {
  try {
    const { products } = req.body;

    // Build line_items expected by Stripe
    const line_items = products.map(p => ({
      price_data: {
        currency: 'usd',
        product_data: {
          name: p.name,
          images: p.image ? [p.image] : []
        },
        // Stripe expects integer amounts in the smallest currency unit (cents)
        unit_amount: Math.round(p.price * 100)
      },
      quantity: p.quantity
    }));

    const session = await stripe.checkout.sessions.create({
      payment_method_types: ['card'],
      line_items,
      mode: 'payment',
      success_url: `${process.env.CLIENT_URL}/success`,
      cancel_url: `${process.env.CLIENT_URL}/cancel`
    });

    res.json({ id: session.id });
  } catch (err) {
    console.error(err);
    res.status(500).json({ error: 'An error occurred creating checkout session' });
  }
});

app.listen(4242, () => console.log('Server listening on port 4242'));
Important server considerations:
- unit_amount must be an integer in the smallest currency unit (for USD multiply dollars by 100).
- Validate incoming data and enforce allowed currencies and max quantities.
- Keep success and cancel URLs configurable via environment variables.
- Use appropriate CORS settings for production.
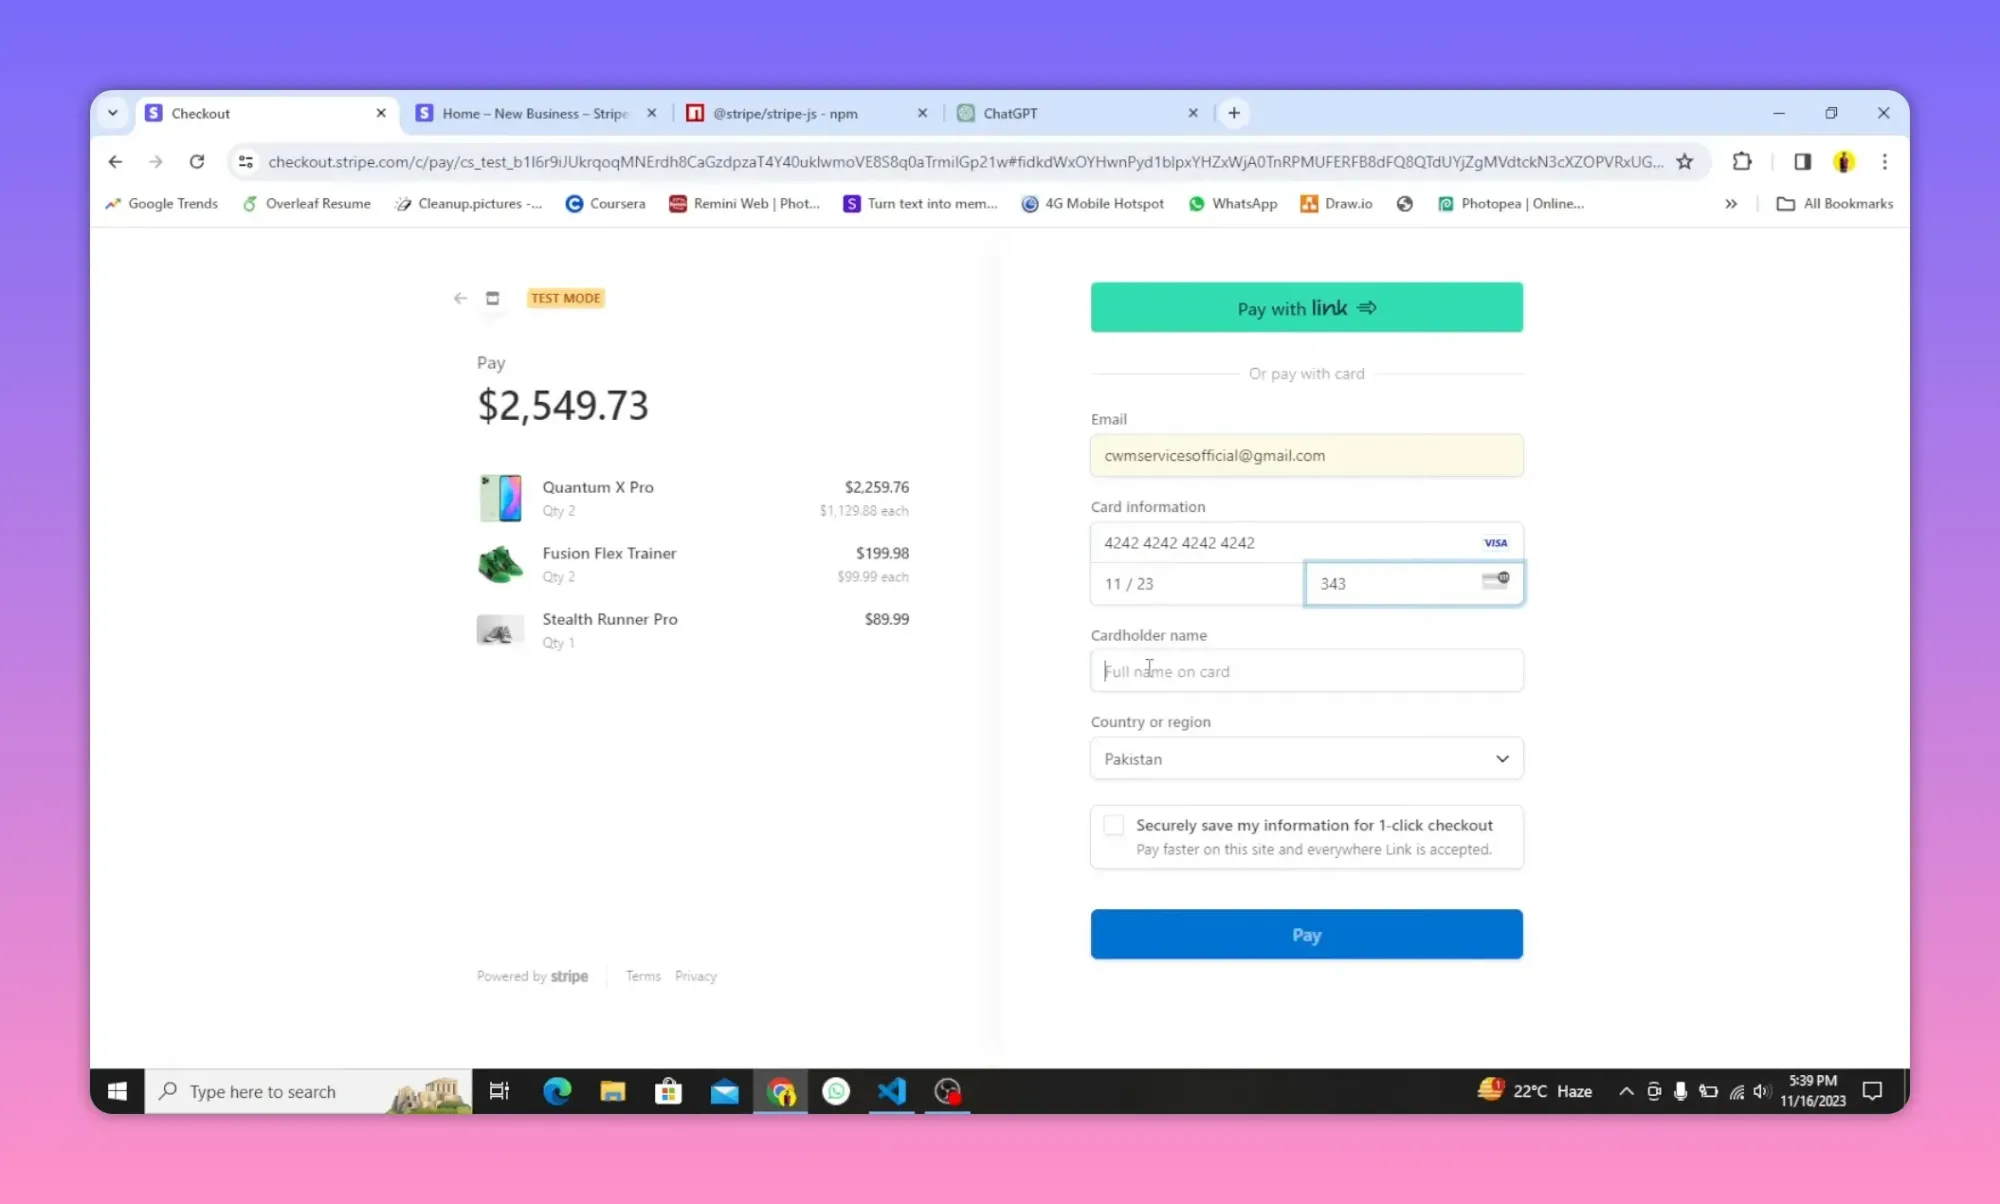
Testing the flow
- Use your Stripe test keys: publishable key on the frontend and secret key on the backend.
- Use Stripe test cards (e.g. 4242 4242 4242 4242 with any future expiry and CVC).
- Open the checkout page to verify line items, quantities, and totals.
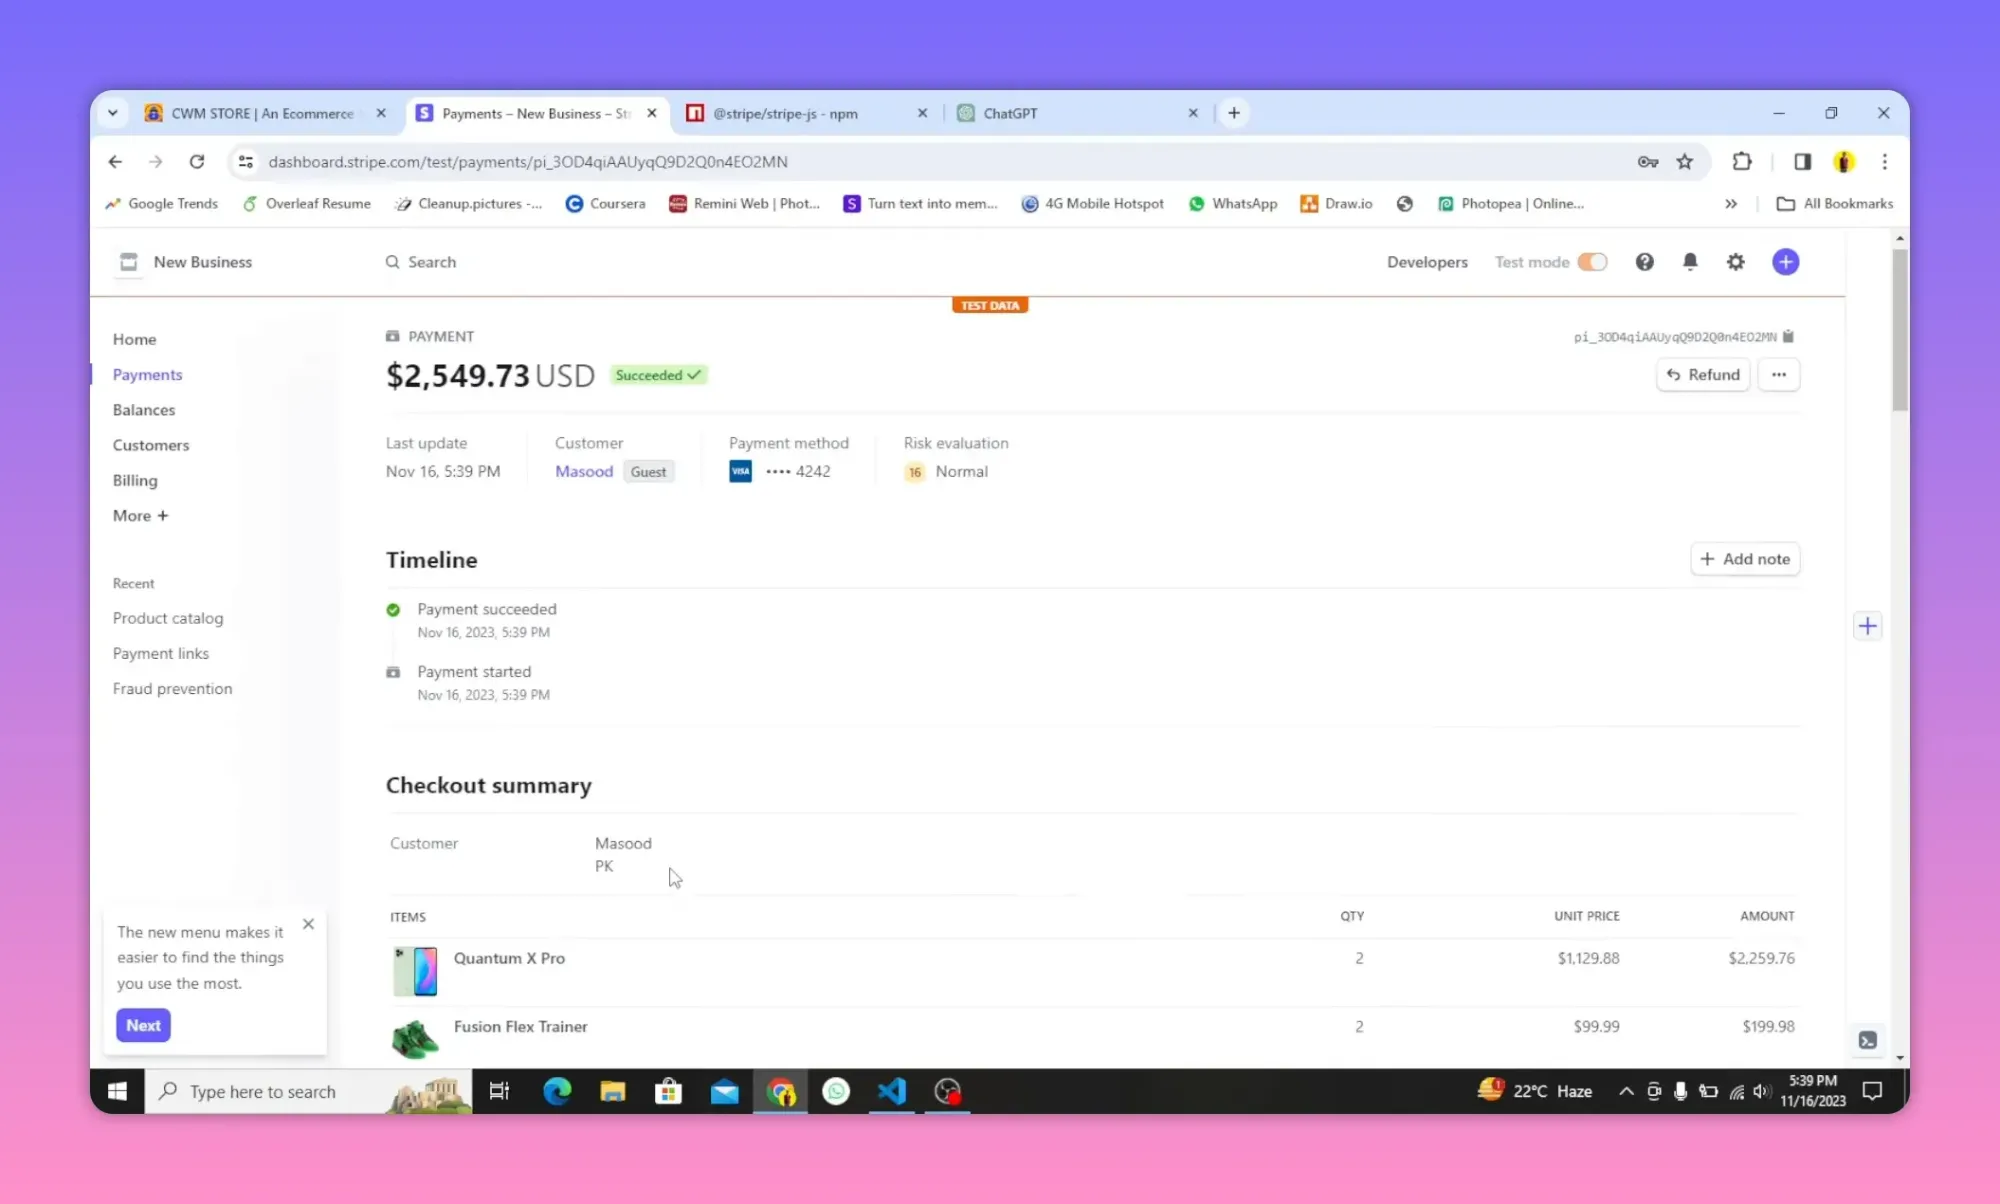
Verify payment in Stripe Dashboard
After a successful test payment, the Dashboard shows payments with details such as email, amount, and payment status.
Common mistakes and how to fix them
- Invalid integer: Stripe requires unit_amount as an integer. Multiply by 100 and round as needed: Math.round(price * 100).
- Using secret key on client: Never expose STRIPE_SECRET_KEY in frontend code.
- Wrong keys (test vs live): Confirm you are using test keys during development. Switch to live keys only when ready.
- CORS errors: Ensure backend includes appropriate Access-Control-Allow-Origin for your frontend origin.
- Missing product images: Stripe expects images as an array of absolute URLs; omit if you do not have images.
- Unmet webhook logic: Checkout only performs payments; use webhooks to fulfill orders or update your database server-side.
Security and production tips
- Environment variables for keys: STRIPE_SECRET_KEY and REACT_APP_STRIPE_PUBLISHABLE_KEY. Do not commit them.
- Use HTTPS in production so checkout callbacks and redirects carry secure cookies and credentials.
- Verify webhooks on the server with the Stripe signing secret to prevent tampering.
- Idempotency: Use idempotency keys on server-side writes to avoid duplicate orders when retrying API requests.
When to use Checkout vs. Elements
- Checkout: Faster setup, Stripe-hosted page, simpler PCI scope, great for one-time purchases and subscriptions with minimal UI customization.
- Elements: Fully embedded payment form, needed when you want complete control of UI/UX, local validation, or custom flows.
Extending this setup
- Webhooks: Listen for checkout.session.completed to mark orders as paid and trigger fulfillment.
- Coupons and discounts: Add promotion codes or pass discounts when creating the session.
- Subscriptions: For recurring billing use Stripe Products and Prices with mode set to subscription.
- Taxes and shipping: Stripe has built-in tax and shipping options; review Stripe docs for configuration.
Example webhook handler (express)
// webhook.js (very simplified)
const stripe = require('stripe')(process.env.STRIPE_SECRET_KEY);
const endpointSecret = process.env.STRIPE_WEBHOOK_SECRET;

app.post('/webhook', express.raw({type: 'application/json'}), (req, res) => {
  const sig = req.headers['stripe-signature'];
  try {
    const event = stripe.webhooks.constructEvent(req.body, sig, endpointSecret);
    if (event.type === 'checkout.session.completed') {
      const session = event.data.object;
      // Fulfill the purchase: update database, mark order paid
    }
    res.status(200).send('Received');
  } catch (err) {
    res.status(400).send(`Webhook Error: ${err.message}`);
  }
});
Quick troubleshooting checklist
- Are you using test keys? (publishable vs secret)
- Did you convert prices to the smallest currency unit and use integers?
- Does the server respond with session.id successfully?
- Is frontend calling stripe.redirectToCheckout with the returned session id?
- Are success and cancel URLs correct and reachable?
- Is CORS configured for the client origin?
Summary
Stripe Checkout provides a secure, low‑effort way to accept one-time payments. The essential steps are installing the Stripe client, sending cart data from the client to a secure server endpoint, creating a Checkout Session on the server with integer amounts, and redirecting the customer to Stripe. For production, add webhook verification, secure environment variables, and consider taxes, shipping, and fraud prevention settings.
Use the code examples above as a starting point and expand them to include order persistence, email receipts, and webhook-driven fulfillment to complete a robust payment flow.